|
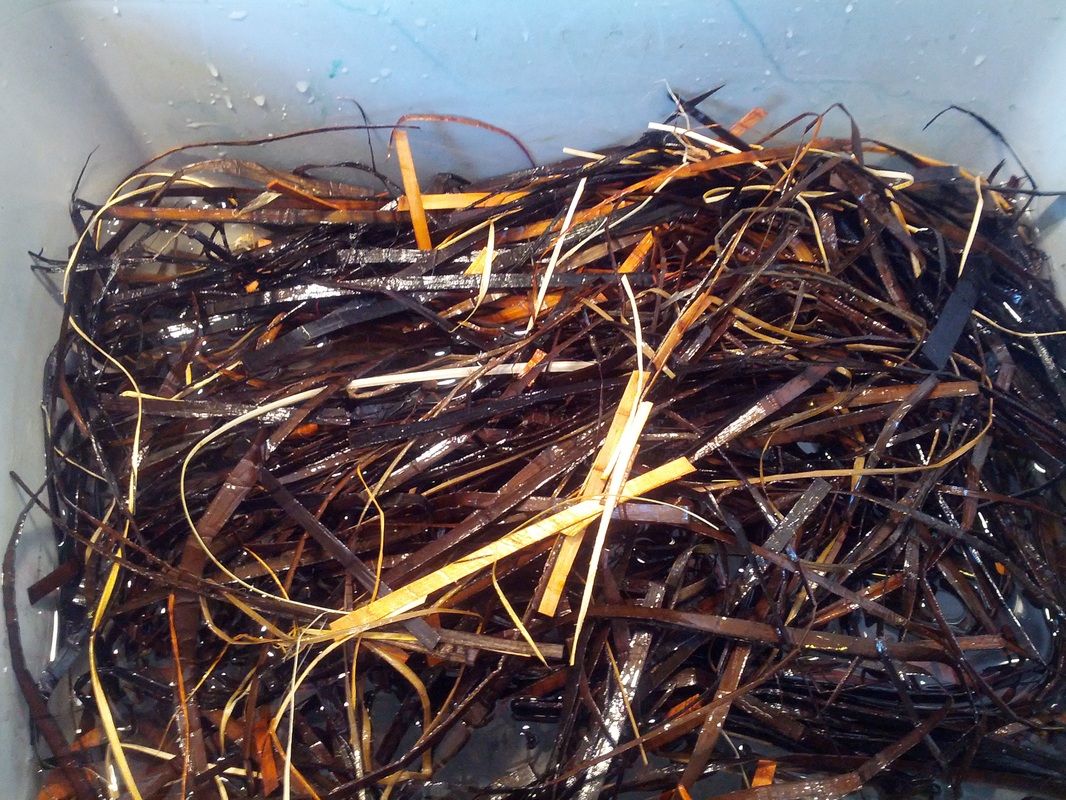
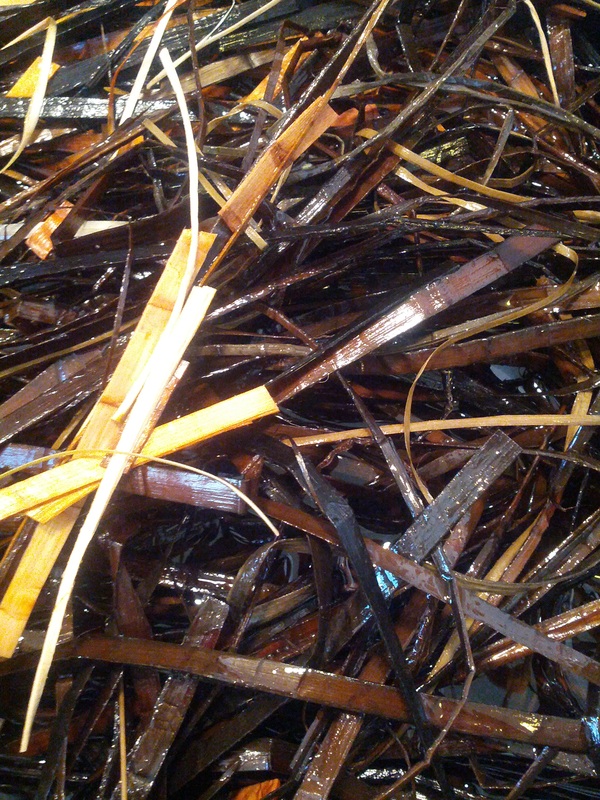
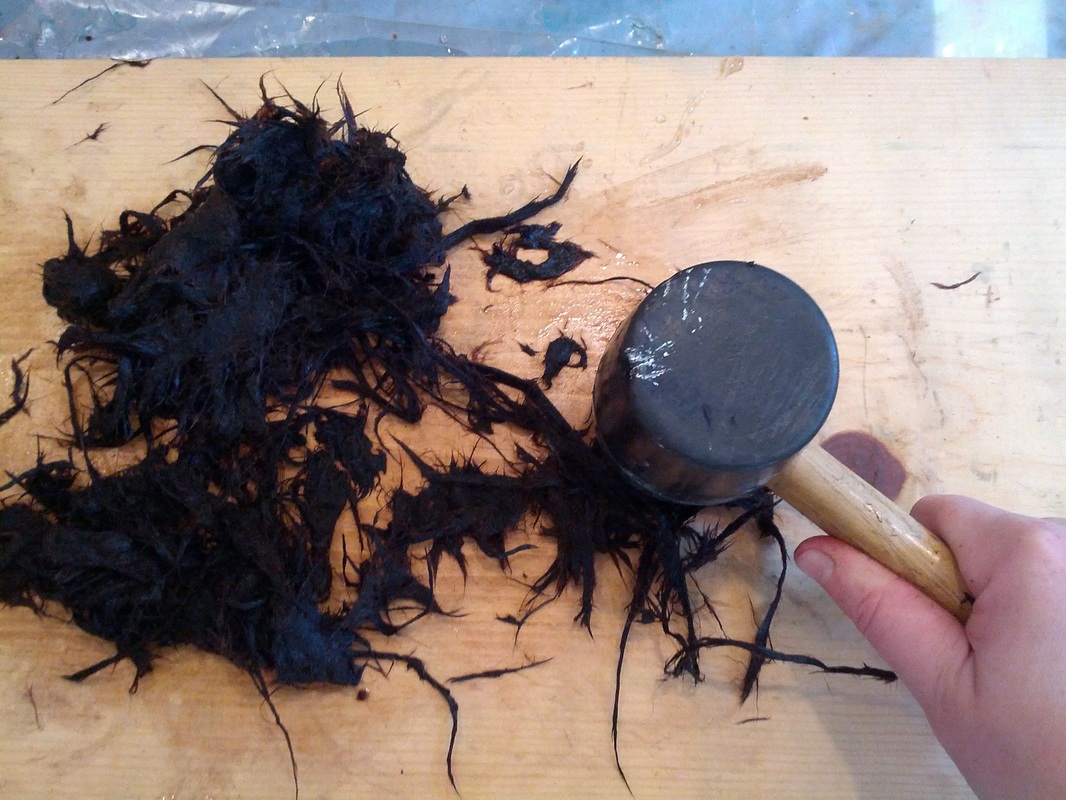
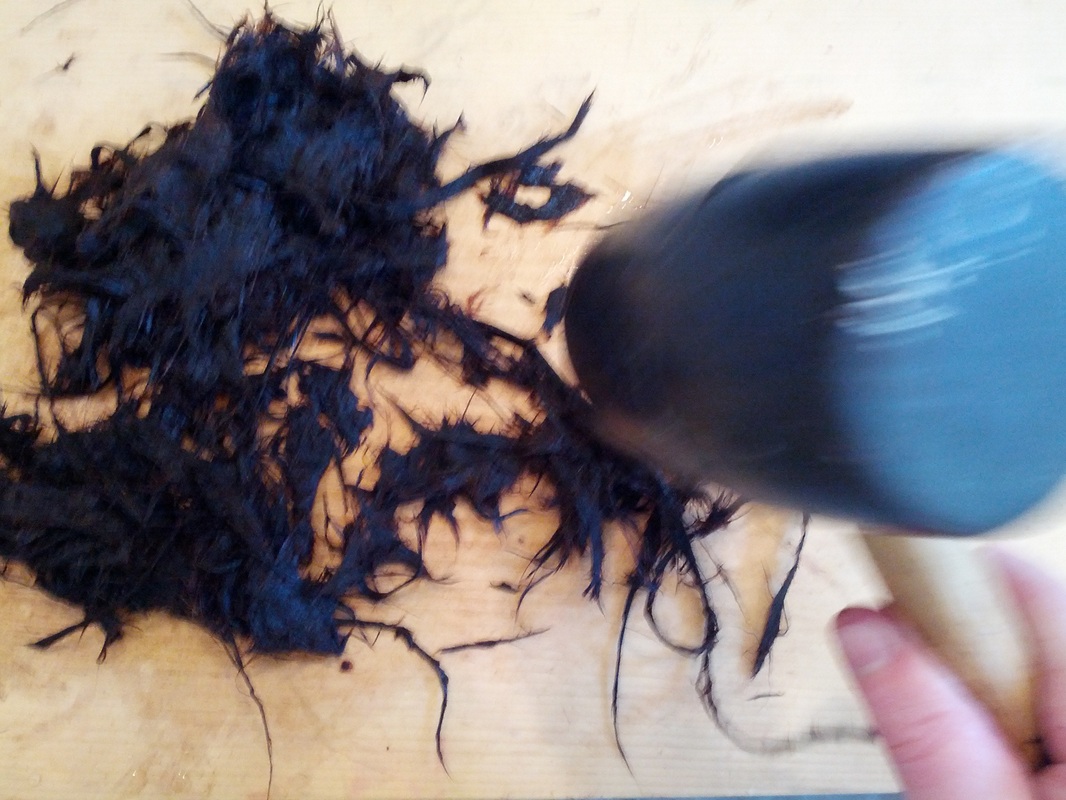
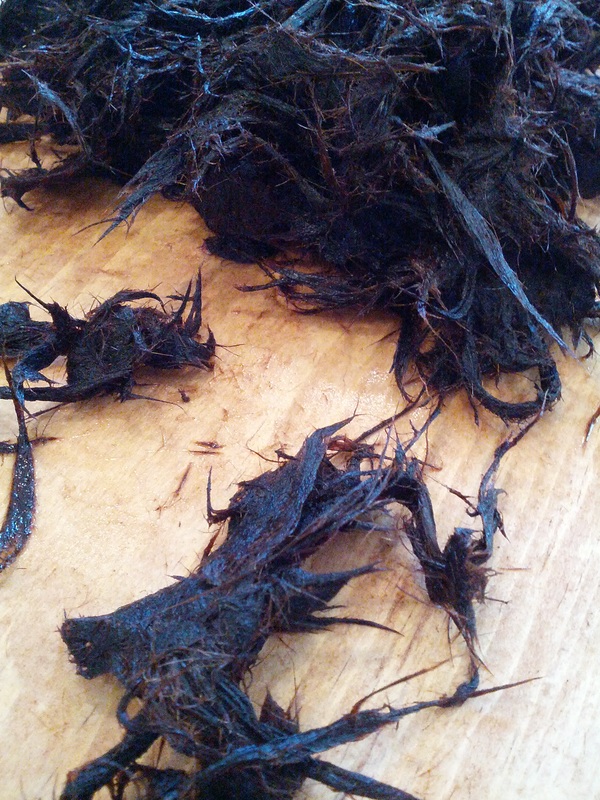
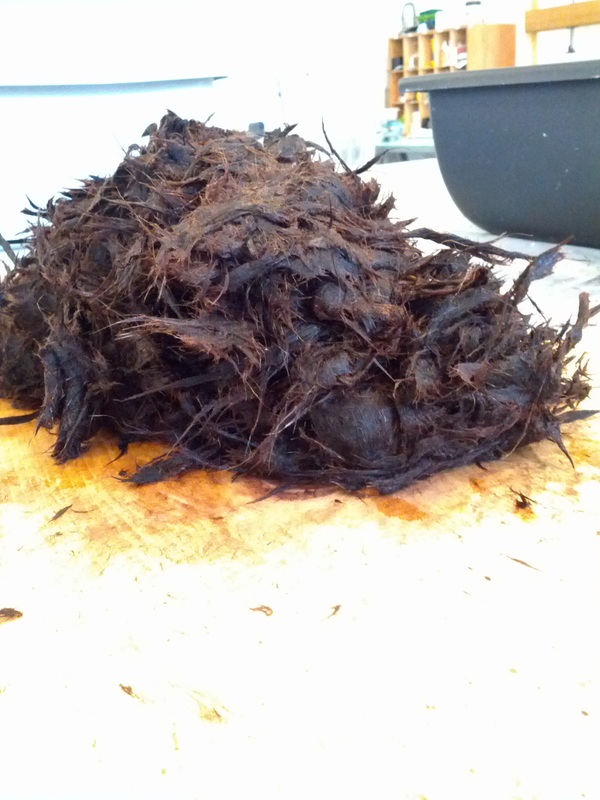
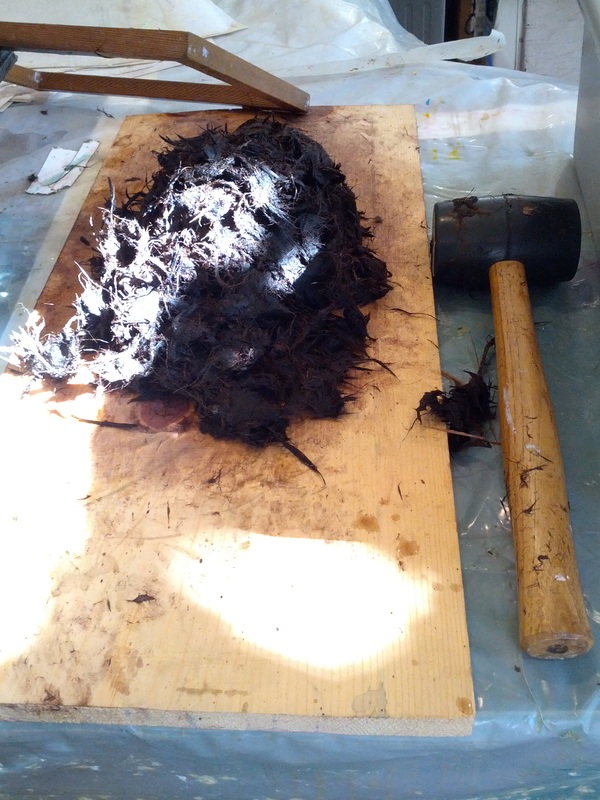
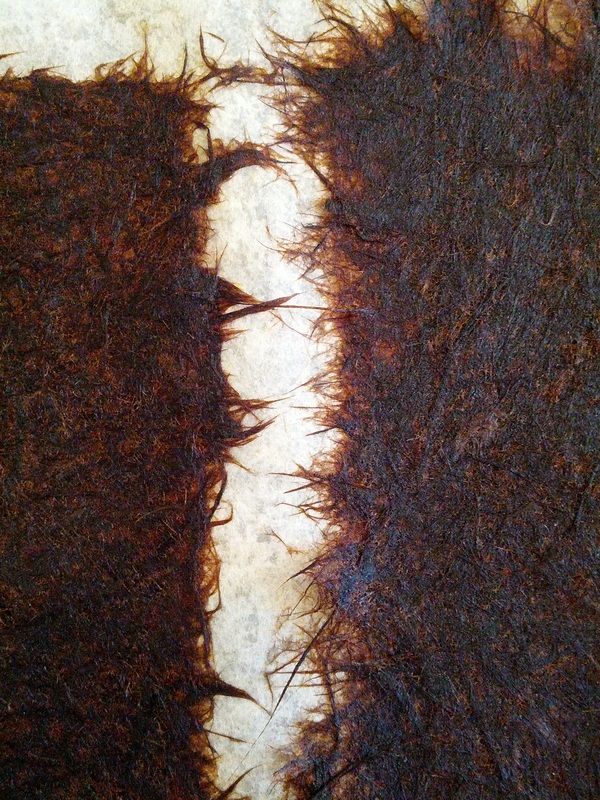
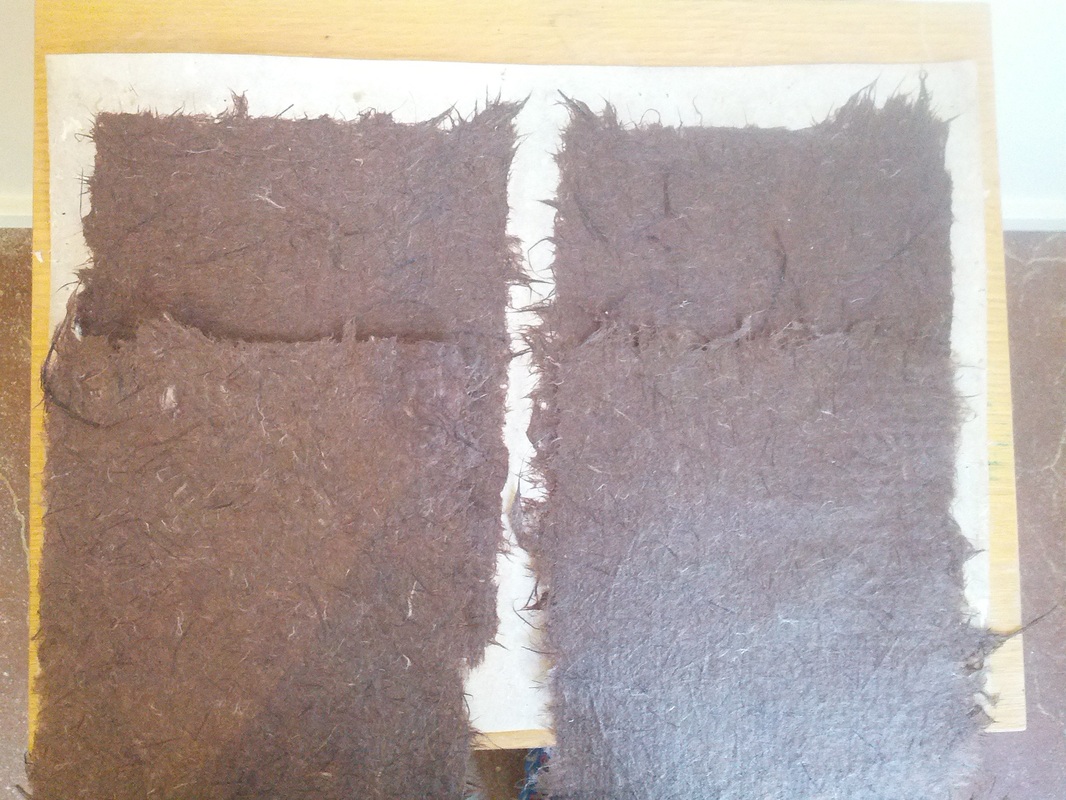
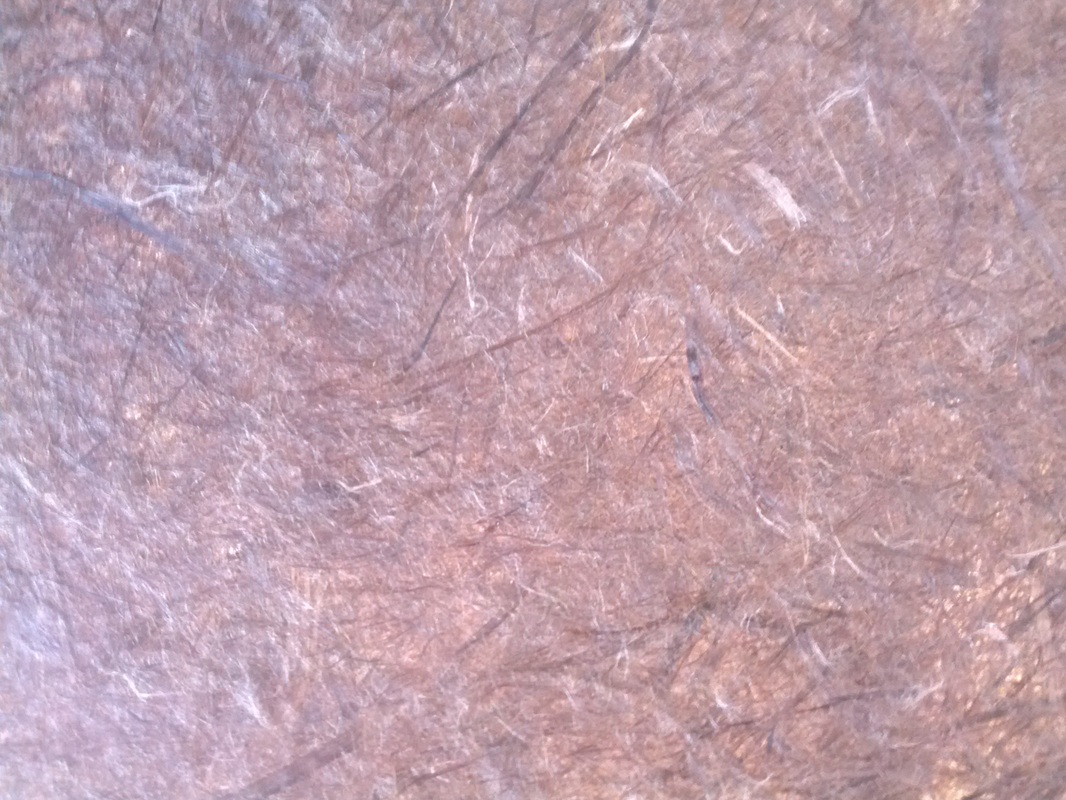
Last week a client brought in some cedar bark strips for us to try out and make some sample papers. We've never hand pounded a fiber before so it truly was an experiment for us, and we couldn't be more pleased with the results! The dry paper color is close to a rich walnut, it's hard to capture with our phone camera. Here are the steps we went through for those that would like to know. (In the future we'll put info. like this on the papermaking wiki that we're developing.)
5 Comments
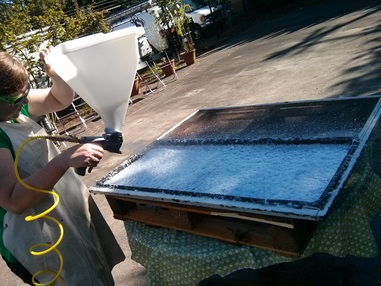 Jenn demos our pulp sprayer Jenn demos our pulp sprayer It's officially Back to School season and it seems like everyone is trying to squeeze as much summer fun out of August as they can. At the studio we're taking stock of what the heck we've been up to and evaluating the highs and lows. Over the past 2 months we've participated in the Mississippi Street Fair, Portland's first Urban Air Market, the Alberta Street Fair, and the Hawthorne Evening Market. We also taught a 2-day workshop at Sitka Center for Art & Ecology and kicked off our studio incubator relationship with the c3:initiative with an Open House. In other words this has been the summer of throwing ourselves into promoting the studio instead of camping, cleaning, or working in our yard- in the hopes that we can build our community and keep the momentum going into the rainy days ahead. Now that Jenn is self employed at the studio this momentum is more important than ever. While the street fair circuit brought us a huge audience, it didn't bring us much $$. We chalk it up to unusually warm temperatures, and and overabundance of merchandise choices. In the future we'll likely focus on vending at curated indoor markets and getting our retail goods into local businesses via wholesale orders. Next summer we'd like to do more demos at farms, museums, and public spaces. Ideally we would collect plants and fibers from said locations and have a mobile paper mill to make paper on site. We'd blog about the demos along the way and build a paper recipe database on our soon to be built papermaking wiki website. Then all we'd need is a faster, more portable beater- want to help us get one? One of our goals as we head into the fall is to continue to build relationships with businesses, artists and makers. We've had some great custom order opportunities, soon we'll start working with artists in our new combined studio residency program with the c3:initiative in Sept., our open call handmade paper postcard exhibition opens on Sept. 5, and in mid-Sept. we're making space and earth paper at the OMSI Mini-Maker Faire. There's been little time to catch our breaths and take in the beauty of summer in Oregon so we too are going to try and squeeze in some summer fun over the coming weeks. Next weekend we'll head out to a group papermaking retreat with the Western Gathering of Papermakers on Whidbey Island. We've never been to the retreat before, or to the island, and will be doing some camping on the host's property. Needless to say, we're super excited to meet some fellow papermakers and get out into the wilderness. 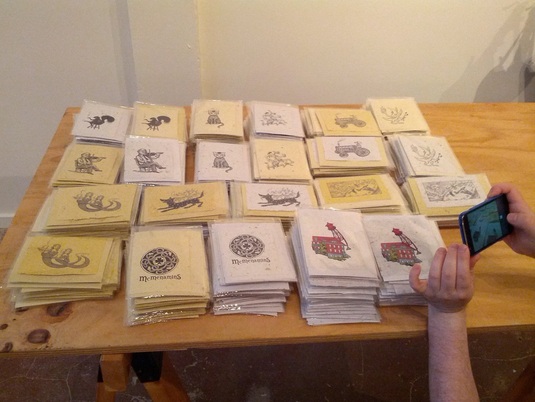 Here's the 410 custom beer card order we recently completed for McMenamins. Here's the 410 custom beer card order we recently completed for McMenamins. As we wrap up this post we have a few requests. If you haven't signed up for our e-newsletter and want to keep up to date with our events, classes and projects- please go sign-up! And if you've been thinking about reaching out to us about a custom order, private group class, or even a project that you'd like to explore- send us an email. We want the studio to be a community resource for folks both in our local community, and our global community. Thanks for your support and here's to the last rays of summer!
|
The StudioPulp & Deckle is a handmade papermaking studio located in Oregon. Archives
September 2023
Categories
All
|


 RSS Feed