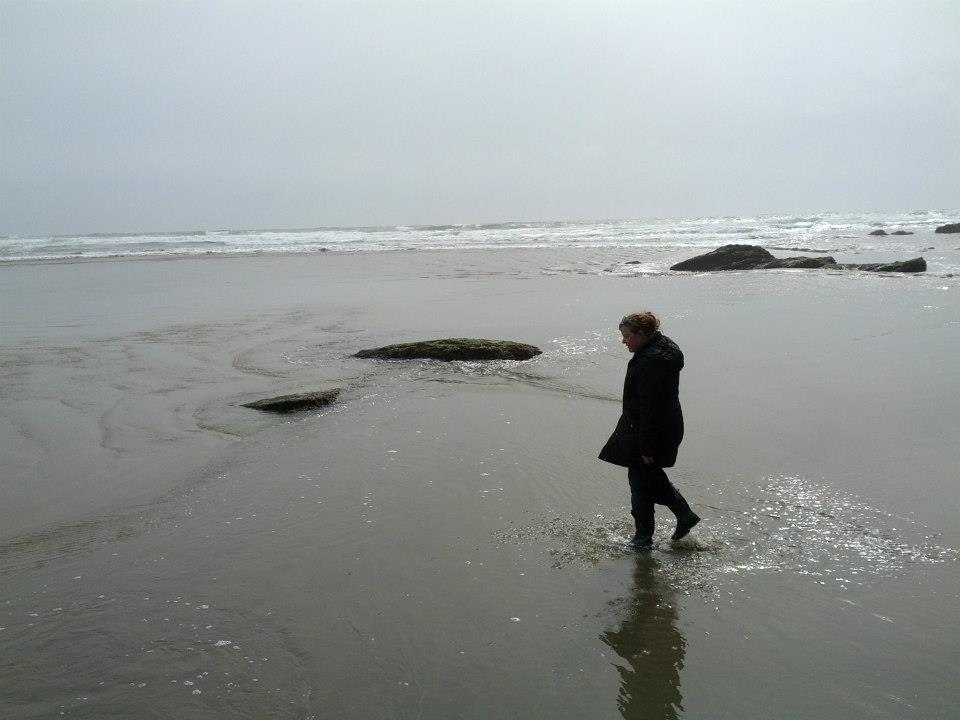
 A couple of weekends back we went to Arch Cape, OR for the weekend to celebrate Jenn's birthday. While there we decided to collect seaweed on the beach (good thing we brought our rain boots!) The weather was pretty stormy and we had a limited window of opportunity for scavenging, but we estimate that we collected about .5 lbs of wet material. 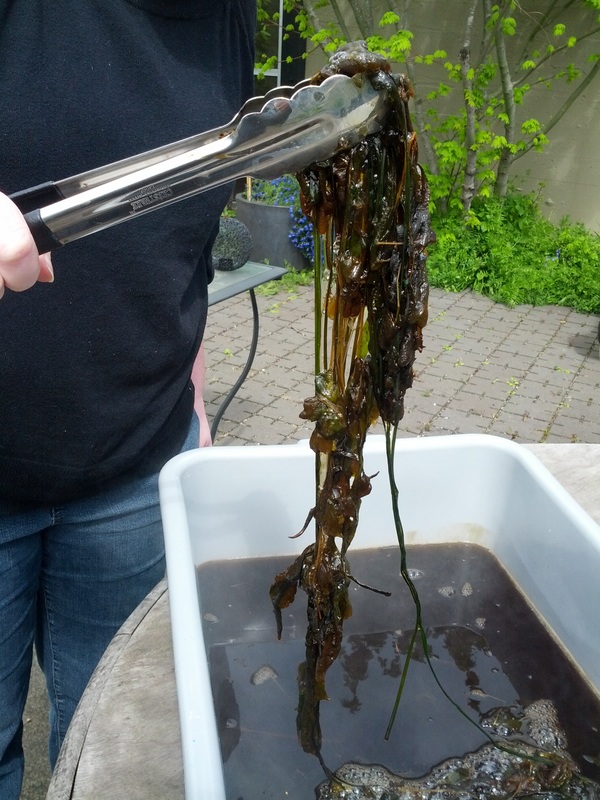 As we couldn't get to the studio right away, we stored the seaweed in a lidded container with water in our basement. Once we were ready to bring it over to the studio we rinsed it off, and put in a large pot with a bit of soda ash to cook for about 2 hours. We checked about every 30 mins. to see how the plant was when we gently tried to pull it apart, and once it started pulling without resistance we figured it was done and ready to be rinsed. 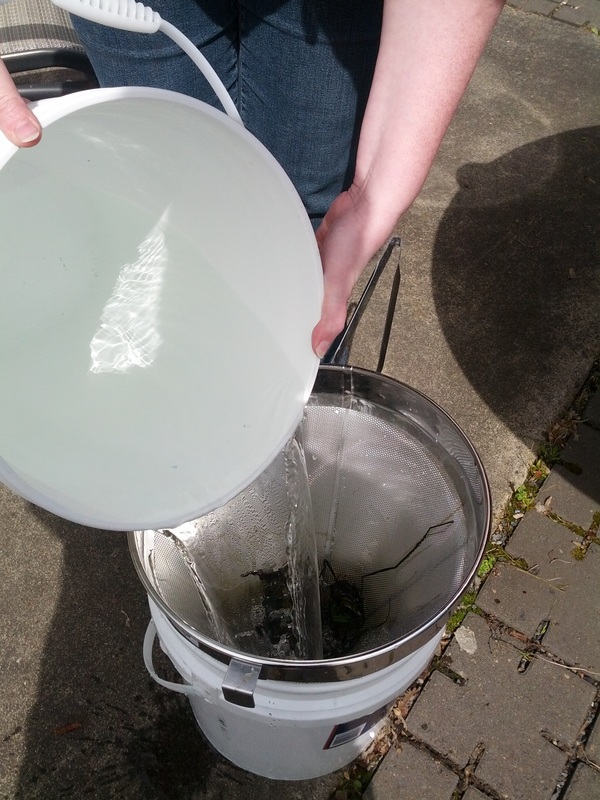 When disposing of the water that the plants were cooked in, we made sure to add in some vinegar to neutralize the toxicity of the water/soda ash before disposal. Here we are rinsing the seaweed with water and vinegar, and collecting it in our large strainer. After straining the seaweed we decided to try putting it in our "critter" beater for about 1.5 hours. While there were some stubborn ribbon-y clumps, most of the material broke down well into semi-short fibers. We might have been able to beat the material a little longer to get the fibers to be less clumpy. Next time! 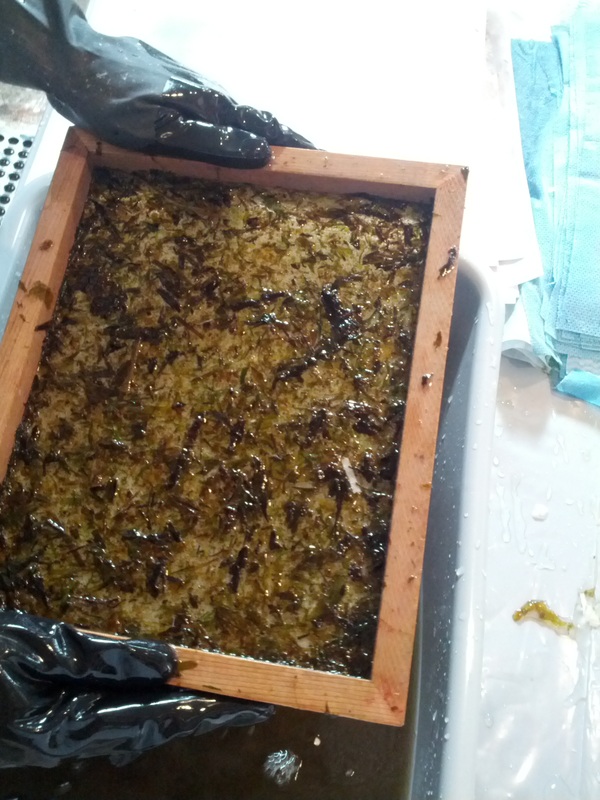 You can somewhat tell from this image that the sheet is very thin on the mould and it was difficult to form a solid sheet without multiple passes in the vat. 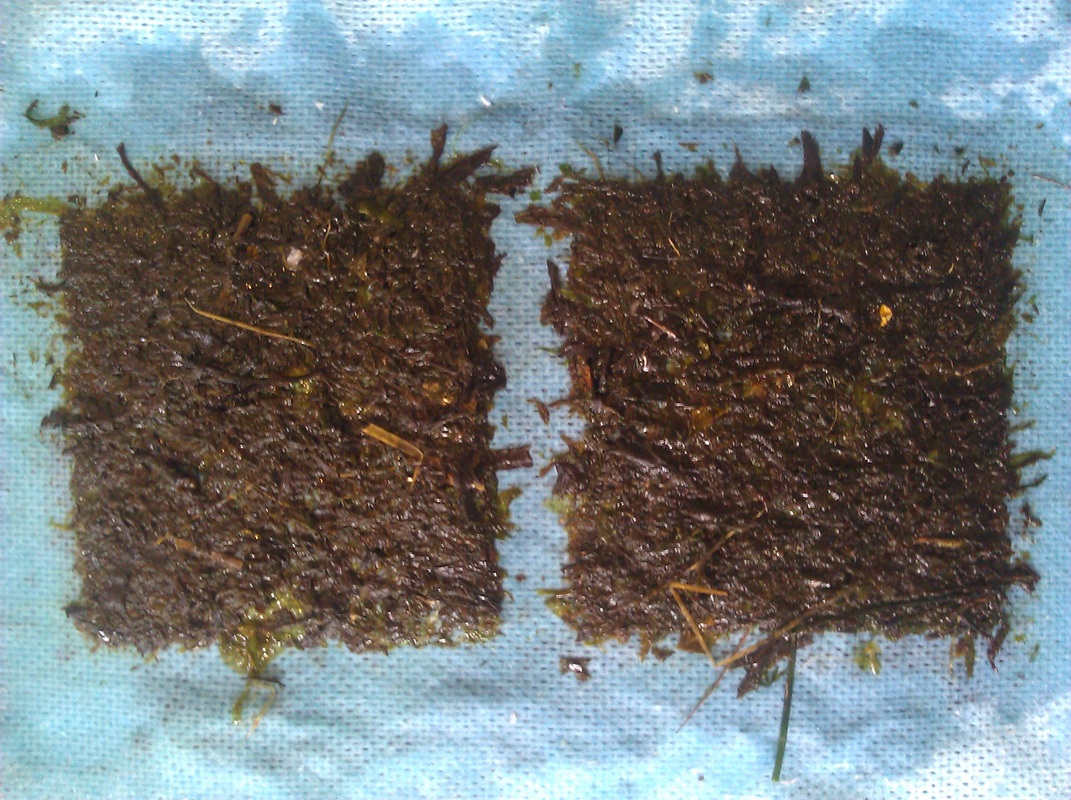 As this was our first time making seaweed paper we weren't really sure about the quality of the plants we collected. In hindsight I think it would be best to collect longer strands that are more grass-like. Much of our seaweed had nodules, and heck, maybe isn't even seaweed but some other ocean plant life. In the future we will also collect more material. We had to couch 2-3 layers of fibers to make a solid sheet without holes. 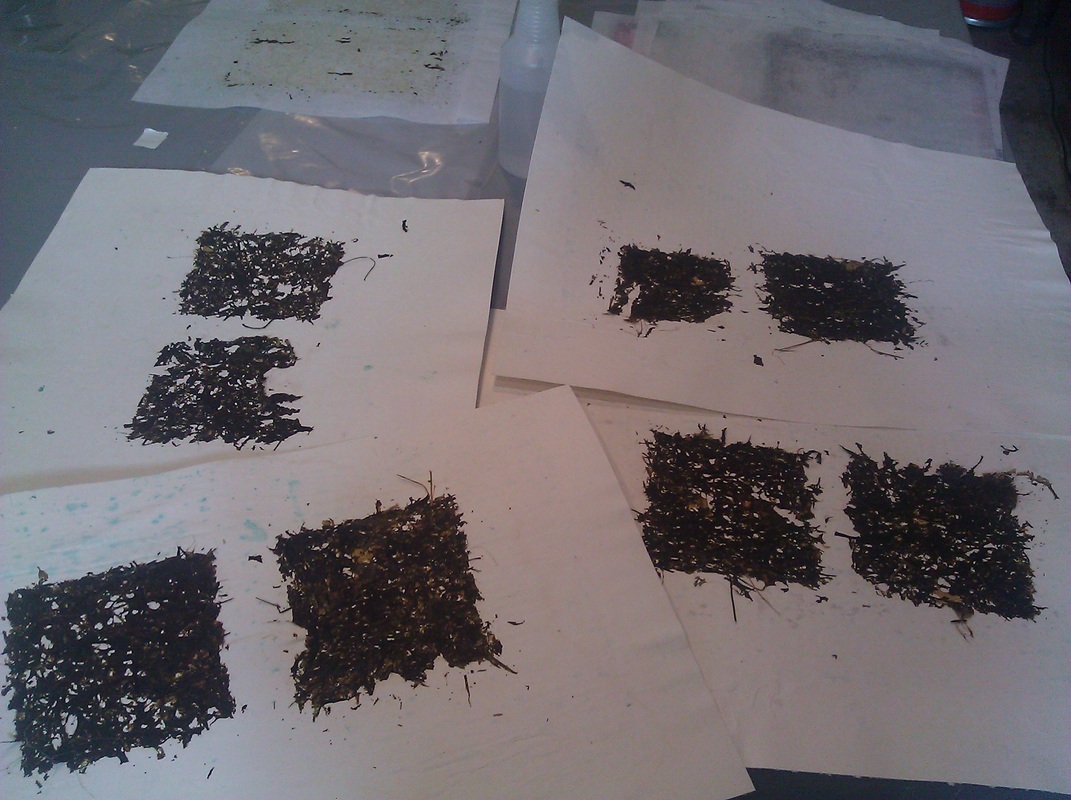 Once the seaweed was dried for about 48 hours in our restraint drying box, we discovered it really did not want to release itself from our cotton blotters. We decided that rather than trying to peel off the super thin sheets, we'll leave them on the blotters and make some art of them. Printmaking anyone? So yes, in the future we'll be doing some things differently with our seaweed papers. Hopefully we'll end up with a more successful end product next time around. Anyone out there got any tips for us? We'd love to hear them! 
3 Comments
Mariya Todorova
9/2/2018 05:46:30 am
Dear Jennifer and Harry, 3/27/2020 04:04:54 pm
Just read your seaweed blog and yes, had similar results when I tried bothTasmanian and east coast Australian seaweeds. I retted and retted and it didn't break down much, then cooked a long time and still didn't break down like land plants. I also had similar couching issues to yours - holy, needed to double-couch, stuck to cloths etc. And high shrinkage. However it is beautiful in its own right. Like you if I do it again I'll go for the more ribbony weed and not the nodule-y type. And thanks for the vinegar tip. I've also blended seaweed with mount board and quite like the effect esp. with charcoal-coloured mount board. I do like your result! PS - my website is out-of-date - more current on Instagram as Artahortabella.
Holly Hutton
11/20/2021 09:49:53 am
Yes thanks for the vinegar comment and your post inspired me to explore seaweed. Many thanks. Your comment will be posted after it is approved.
Leave a Reply. |
The StudioPulp & Deckle is a handmade papermaking studio located in Oregon. Archives
September 2023
Categories
All
|
 RSS Feed